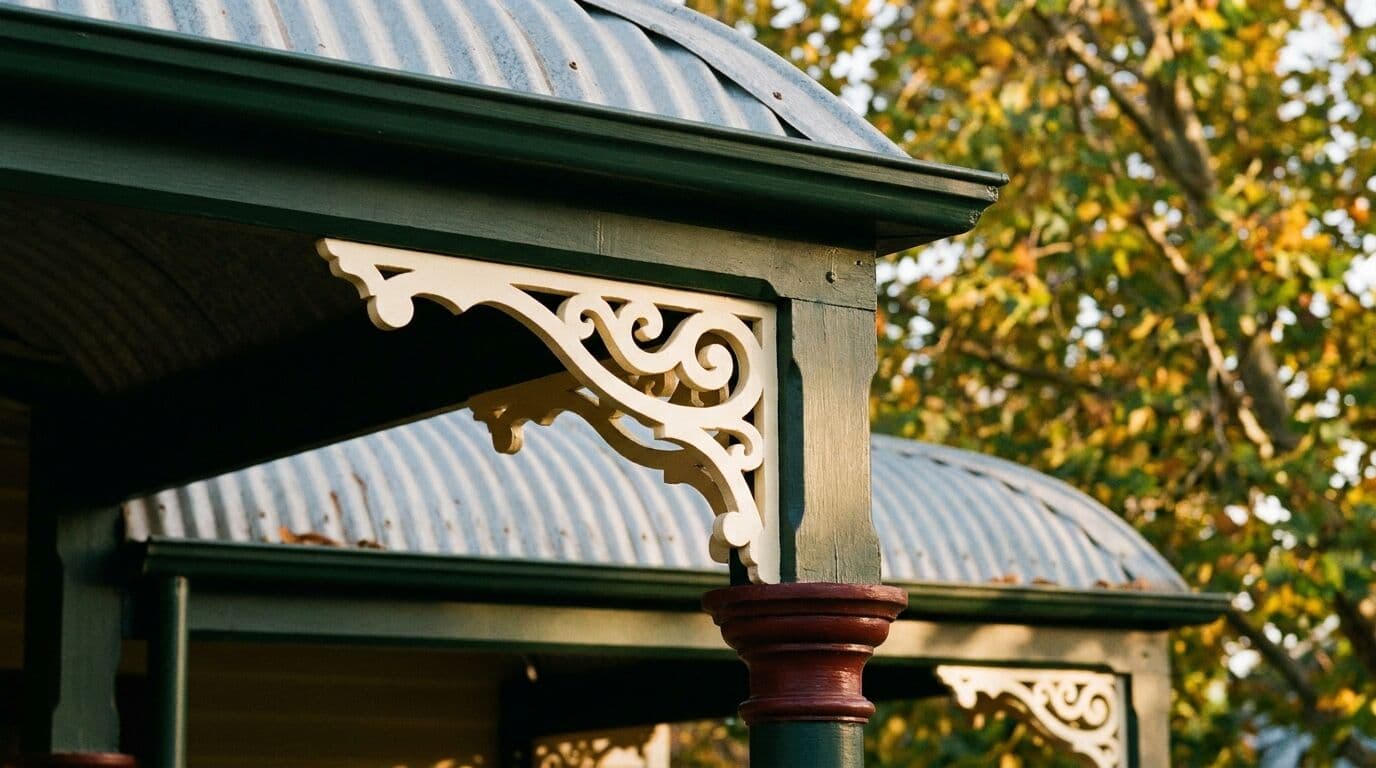
Preparing your home for interior painting takes between one and three days depending on the size of the job, and it is the single most important step in getting a result that lasts. In over fifty years of painting homes across Orange, Bathurst, Millthorpe, and the wider Central West, I have seen more paint jobs fail from poor preparation than from any other cause. Get the prep right and everything else follows.
Most homeowners underestimate what goes into preparation. They think it is just moving a few pieces of furniture and laying down a drop sheet. In reality, proper preparation accounts for roughly 60 to 70 percent of the total time on any interior painting job. It is not glamorous work, but it is the difference between a paint job that looks good for two years and one that looks good for ten.
Clear the Room Properly
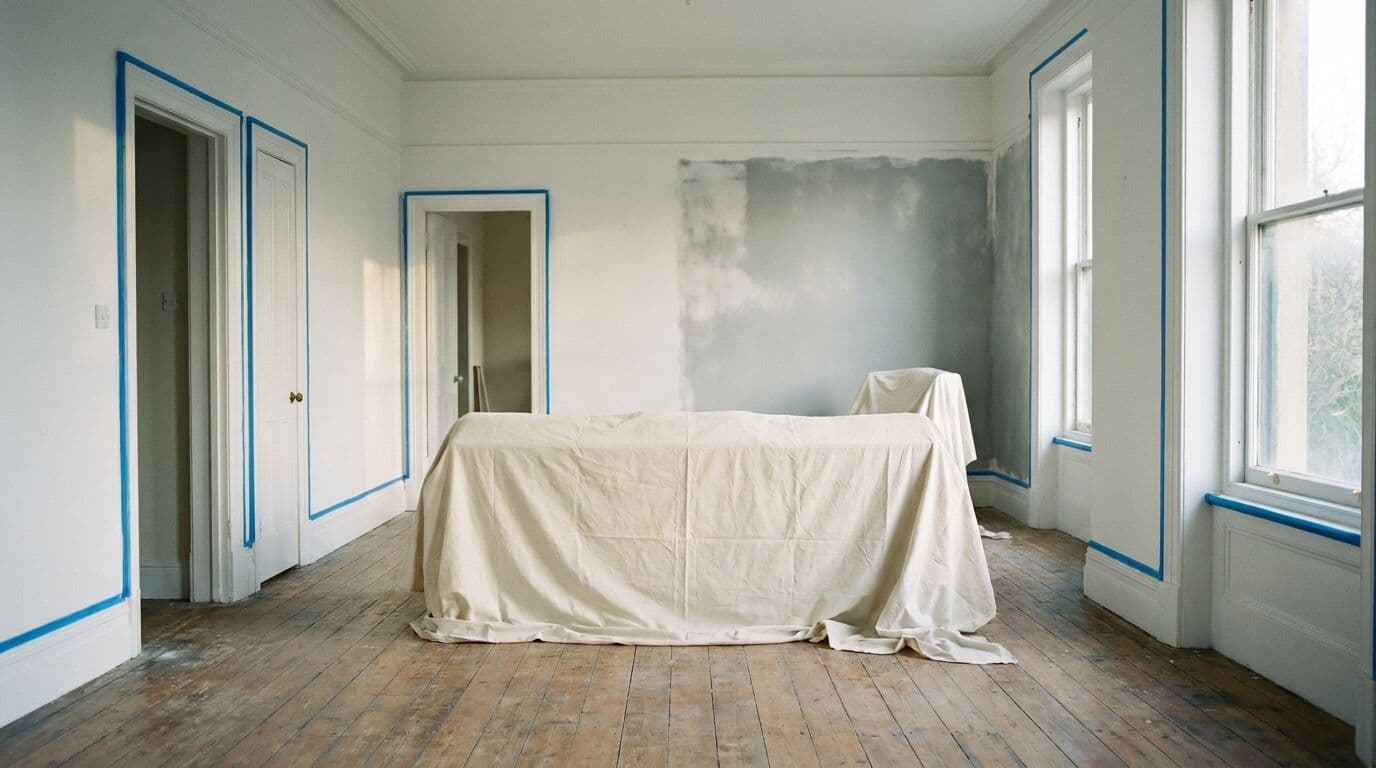
The first thing we do on any interior job is clear the room as much as possible. Ideally, everything comes out. Every piece of furniture, every picture frame, every shelf ornament. I know that is not always practical, especially in a family home in Orange where you are still living in the house while the work happens. In that case, we move everything to the centre of the room and cover it completely with heavy drop sheets.
Here is what you can do before the painters arrive to save time and keep costs down:
- Remove all wall hangings, mirrors, and curtains. Take out picture hooks and curtain brackets too. Fill the holes with a basic filler from Bunnings if you like, or leave them for us to patch.
- Clear shelves, mantels, and windowsills. Anything that could get bumped, splashed, or is in the way of a roller needs to go.
- Move lightweight furniture out of the room entirely. Dining chairs, side tables, lamps, pot plants. The less in the room, the faster and cleaner the job.
- Disconnect electronics near the walls. TVs, speakers, and computer equipment are better off in another room than under a sheet.
If you can do this the night before we start, you will save yourself at least a couple of hundred dollars in labour. On a standard three-bedroom home in Orange or Blayney, clearing rooms yourself can knock half a day off the total job time.
Inspect Your Walls Before We Arrive
Walk through every room that is being painted and have a proper look at the walls. Not a glance, a proper look. Get close. Run your hand over the surface. You are looking for cracks, nail pops, dents, peeling paint, and any signs of moisture damage. Make a note of anything you find and let us know before we start. It saves time and means we come prepared with the right materials.
In Central West homes, there are a few common issues I see regularly:
- Hairline cracks around door frames and windows. Our climate puts enormous stress on buildings. At 862 metres elevation, we get frosts for five to eight months of the year, and summers that push past 35 degrees. That constant expansion and contraction opens up cracks that need filling before any paint goes on.
- Moisture stains on ceilings and upper walls. Older homes in Orange, Millthorpe, and Carcoar often have roof or flashing issues that let moisture in during winter rains. There is no point painting over a moisture stain. The source needs to be fixed first, or it will bleed straight through your new paint within months.
- Nail pops in plasterboard. These are especially common in newer builds where the framing timber was not fully seasoned before lining. The nails push through the surface as the timber shrinks. We fix these with screws and filler before painting.
- Flaking or chalking old paint. If the existing paint is not sound, it all has to come off. New paint will not stick to old paint that is letting go of the wall.
The Preparation Work We Do
Once the room is cleared, we start our preparation process. This is where the real work happens, and it is the part that separates a professional job from a weekend DIY attempt. I supervise every job personally because preparation is where shortcuts cause the most damage.
Our standard interior preparation process includes:
- Washing walls and ceilings. Sugar soap wash to remove grease, dust, cobwebs, and any contaminants that would stop the paint from bonding. Kitchens and bathrooms get extra attention because cooking grease and soap residue are paint killers.
- Filling and sanding. Every crack, dent, nail hole, and imperfection gets filled with quality filler, left to cure, then sanded smooth. We use Dulux pre-mixed fillers for most jobs because they cure hard and sand cleanly.
- Sanding all surfaces. A light sand with 120 or 180 grit gives the new paint something to grip. This step is non-negotiable. Skipping it is the number one reason DIY paint jobs peel within the first year.
- Priming where needed. Any repaired areas, bare plaster, or stained patches get a coat of Dulux primer before the topcoats go on. If we are making a major colour change, we may prime the entire surface to ensure even coverage and true colour.
- Masking and protecting. We tape around light switches, power points, skirting boards, architraves, and any surface that is not being painted. Drop sheets go down on every floor surface. We use canvas sheets, not plastic, because plastic is slippery and paint puddles on it instead of being absorbed.
On a typical three-bedroom home in Bathurst or Orange, preparation takes a full day, sometimes longer if the walls are in rough condition. It is not unusual for preparation to take as long as the actual painting. That is normal. That is how it should be.
Dealing with Older Homes in the Central West
If your home was built before 1970, there is a reasonable chance it has lead-based paint on the walls. This is especially common in the older parts of Orange, the heritage homes around Millthorpe, and the cottages in Carcoar and Blayney. Lead paint requires specific handling under NSW regulations. We do not sand it, we do not scrape it dry, and we do not create dust that your family could breathe in.
For homes with lead paint, we use encapsulation methods or wet removal techniques that keep the lead contained. This adds time and cost to the job, typically an extra $500 to $1,500 depending on the extent, but it is not optional. Your family's health is not something we cut corners on.
Older homes also tend to have more challenging surfaces. Lime plaster instead of modern plasterboard. Lath and plaster ceilings. Wallpaper that has been painted over three or four times. Each of these requires a different approach, and getting it wrong means the new paint will not last. This is where fifty years of experience really counts.
What You Should Do About Heating and Ventilation
Interior paint needs the right conditions to cure properly, just like exterior paint. The ideal temperature for application is between 15 and 25 degrees Celsius. In Orange, that means winter painting jobs need the heating on. Not blasting, just maintaining a steady temperature above 15 degrees throughout the drying period, which is 24 to 48 hours between coats.
Ventilation matters too. Open windows where possible to allow moisture from the drying paint to escape. In the colder months, when opening windows is not practical, we manage airflow carefully to balance temperature and ventilation. If you have ceiling fans, leave them accessible for us to use.
Avoid running evaporative coolers while paint is drying. They push moisture-laden air through the house, which slows drying and can cause water spots in the finish. Refrigerated air conditioning is fine.
A Quick Checklist Before Your Painter Arrives
- Remove wall hangings, curtains, and brackets
- Clear shelves, windowsills, and mantels
- Move small furniture out of the room
- Note any cracks, stains, or damage on walls
- Fix any plumbing leaks or roof issues causing moisture stains
- Ensure the painter has clear access to all rooms being painted
- Clear paths from the front door to the work areas
- Secure pets in a separate area of the house
- Let your painter know about any lead paint concerns
- Make sure heating or cooling is available to maintain 15 to 25 degrees
Why Preparation Is Worth Every Dollar
I understand the temptation to rush through preparation and get to the painting. Paint on the wall is what you are paying for, and it is satisfying to see the colour go on. But every dollar spent on preparation pays you back three or four times in longevity. A properly prepared and painted interior using Dulux products should last eight to twelve years in normal living conditions. A poorly prepared job, even with the same quality paint, might start showing problems within two to three years.
Over fifty years in this trade, working across Orange, Bathurst, Millthorpe, Carcoar, and Blayney, I have built my reputation on doing the preparation properly every single time. I am on every job site, supervising the work, because I know that what happens before the first coat of paint goes on determines everything that comes after.
If you are thinking about painting the interior of your home and want to know exactly what is involved, give Murrays Painting a call for a free, no-obligation quote. We will walk through your home, assess the preparation needed, and give you an honest price with no surprises. That is how we have done it for over fifty years, and it is how we will keep doing it.